 Canvas Bell Tents
 Bell Tent Accessories
Camping under the stars, surrounded by nature, can be magical—but there’s one thing that can cut that dream short: the morning sun piercing through your tent at 5am. Whether you’re a light sleeper or just love a lie-in, learning how to black out your bell tent can totally transform your glamping experience.
🧠 Did you know? An extra hour of sleep can lower blood pressure, improve hydration, and regulate glucose levels. So, if you’re camping to feel refreshed and recharged—let’s make sure your sleep space supports that!
Let’s get started!
Why Blacking Out a Bell Tent is Important
Blacking out your camping bell tent isn’t just about getting some extra shut-eye, although that’s a significant benefit. There are several reasons why creating a darkened environment in your tent is a game-changer for your camping experience.
✅ 1. Better Sleep Quality
Our circadian rhythm depends on darkness to regulate sleep. Even a sliver of light can disrupt deep rest. Blacking out your tent helps you fall asleep faster and stay asleep longer—especially during bright summer mornings.
✅ 2. More Privacy
No peeking in! A darkened tent offers added privacy when you’re getting dressed, winding down, or simply want a little solitude from neighbouring campers.
✅ 3. Temperature Regulation
Blocking the sun’s rays also helps keep your tent cooler—essential for summer trips when canvas tents can otherwise feel like saunas by 9am.
✅ 4. Solves Canvas Light Infiltration
Even thick canvas lets in surprising amounts of daylight. A blackout solution gives you control over your internal tent environment.
Materials You Need to Black Out a Bell Tent
Now that we’ve established why blacking out your bell tent is essential, let’s talk about the materials you’ll need. The good news is that you don’t need a lot of fancy equipment to get started—just a few key items that you can easily find online or at your local camping store.
Blackout Fabric
The cornerstone of any blackout project is, of course, blackout fabric. This specially designed material is thick and often has a rubberized backing to ensure no light gets through. You can find blackout fabric in various colours, but black or dark grey tends to be the most effective for this purpose.
Clips or Velcro
To attach the blackout fabric to the interior of your tent, you’ll need something to hold it in place. Clips are a quick and easy solution, especially if you’re looking for something temporary. Velcro strips, on the other hand, provide a more permanent solution and allow for easy adjustments.
Adhesive Tape
For sealing light gaps around the seams, doors, and windows, a strong adhesive tape can be incredibly useful. Look for a tape that’s designed for outdoor use, as it will need to withstand varying temperatures and humidity levels.
Measuring Tape
Before you start cutting your blackout fabric, you’ll need to measure the interior of your tent carefully. A standard measuring tape will do the job, but make sure it’s long enough to cover the full height and width of your tent’s walls.
Optional: Blackout Liners and Reflective Sheets
For those looking to go the extra mile, blackout liners or reflective sheets can be added to your setup. Blackout liners are pre-made and often come with built-in attachment points, making installation a breeze. Reflective sheets can be placed between the tent’s canvas and the blackout fabric to further reduce light penetration and help with temperature control.
Step-by-Step Guide to Blacking Out Your Bell Tent
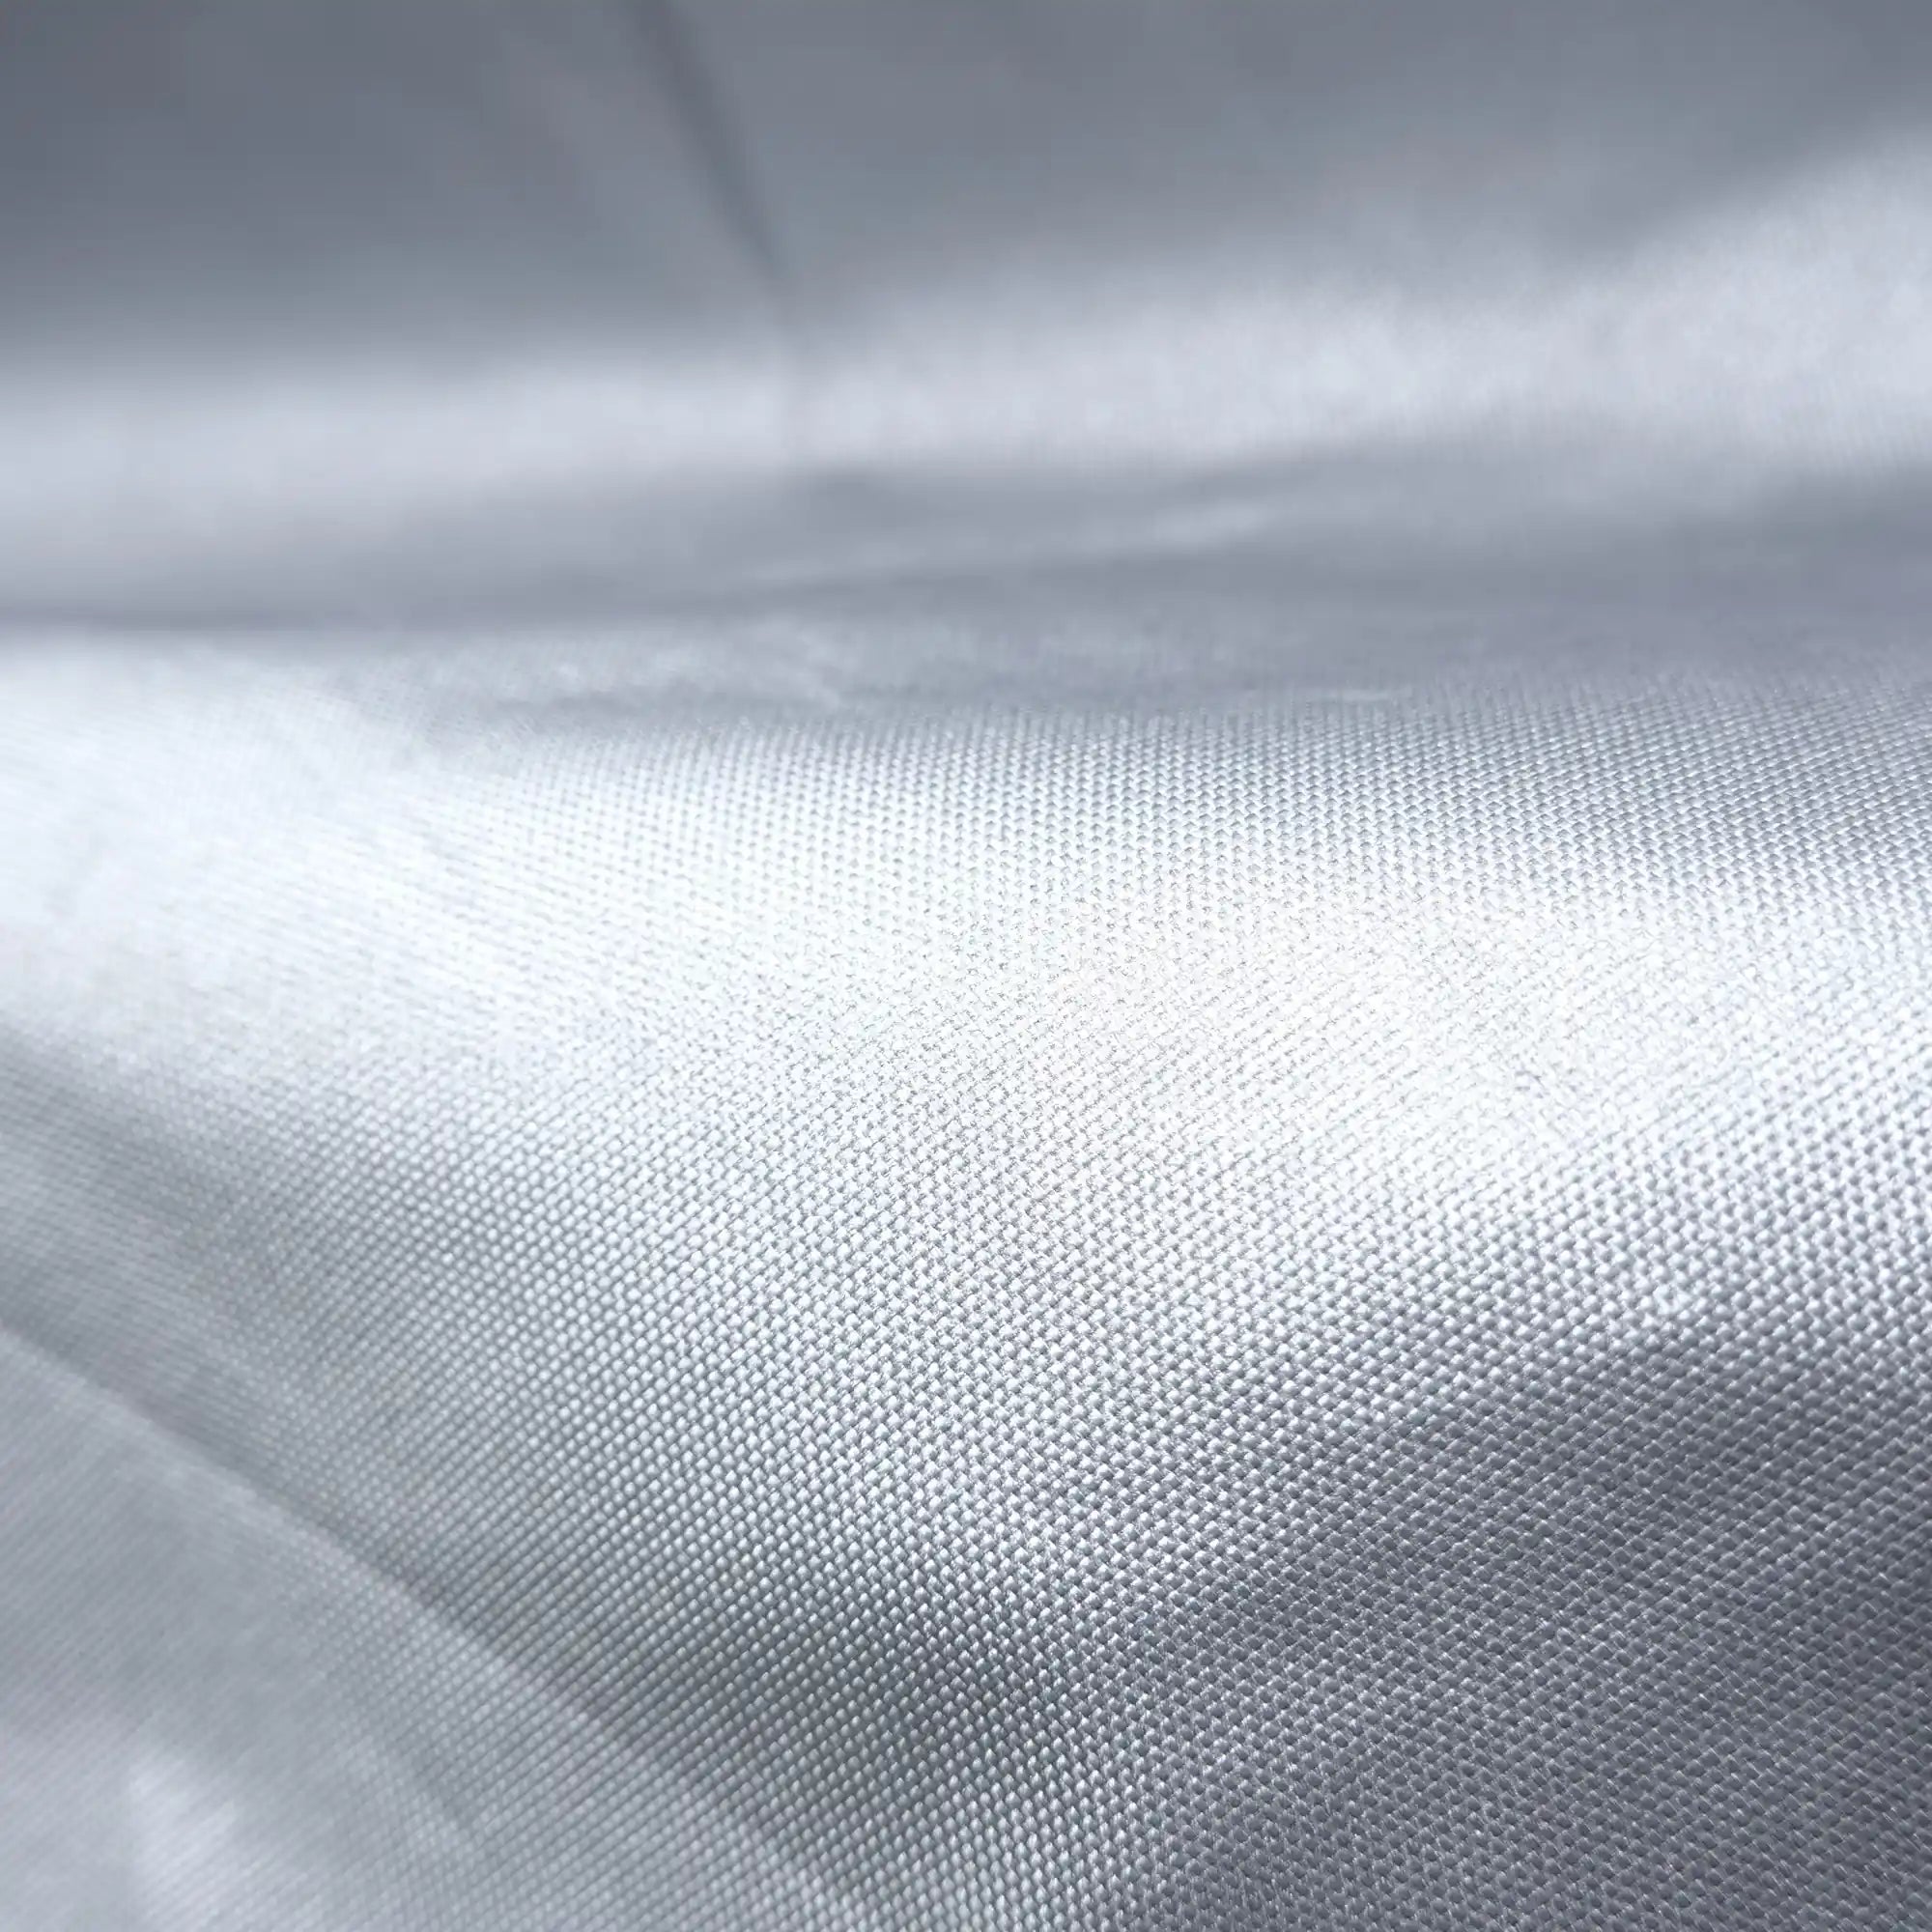
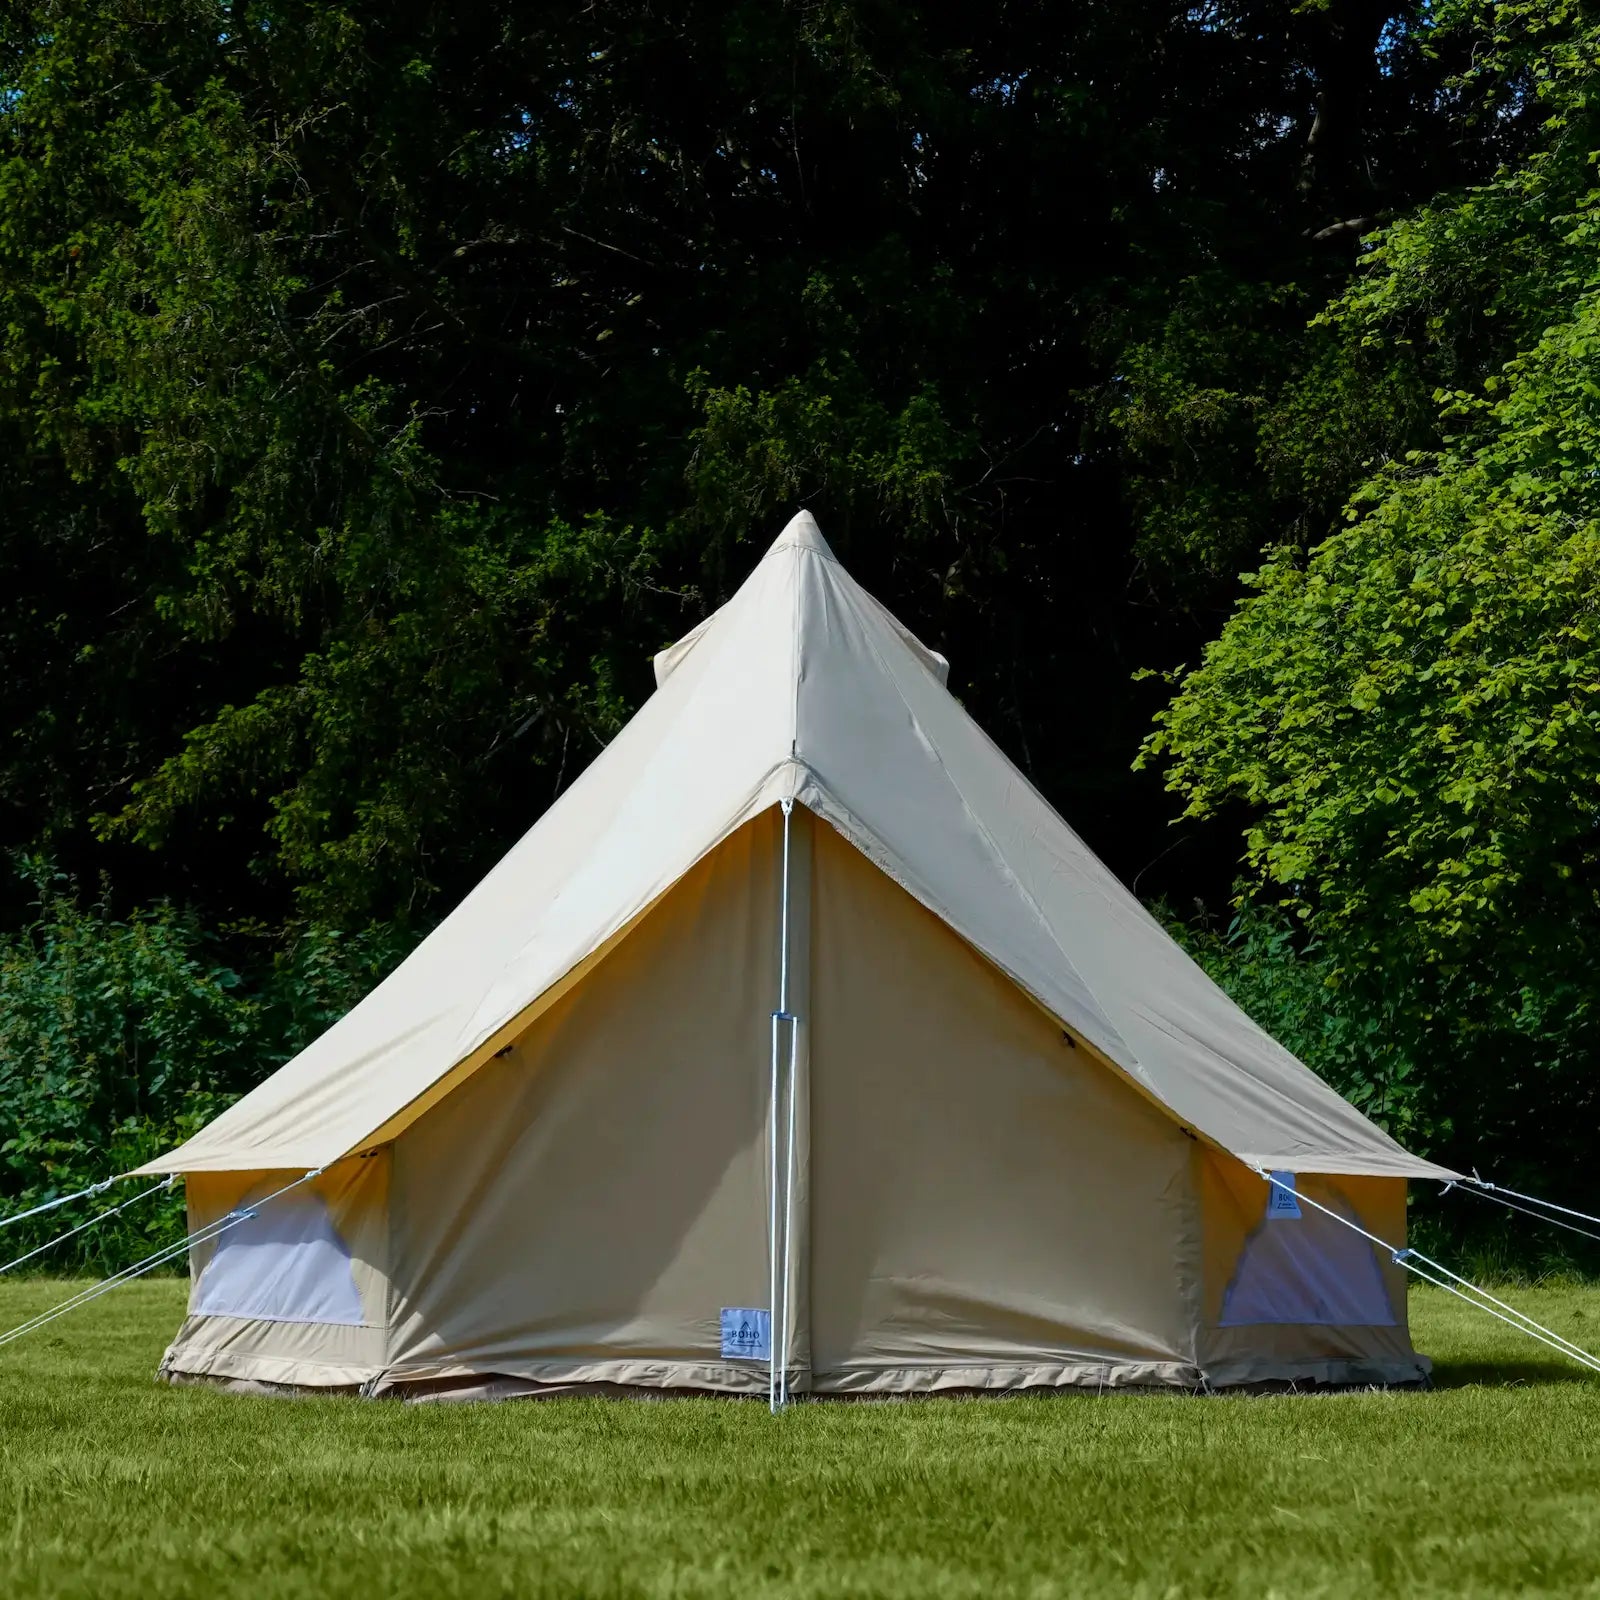
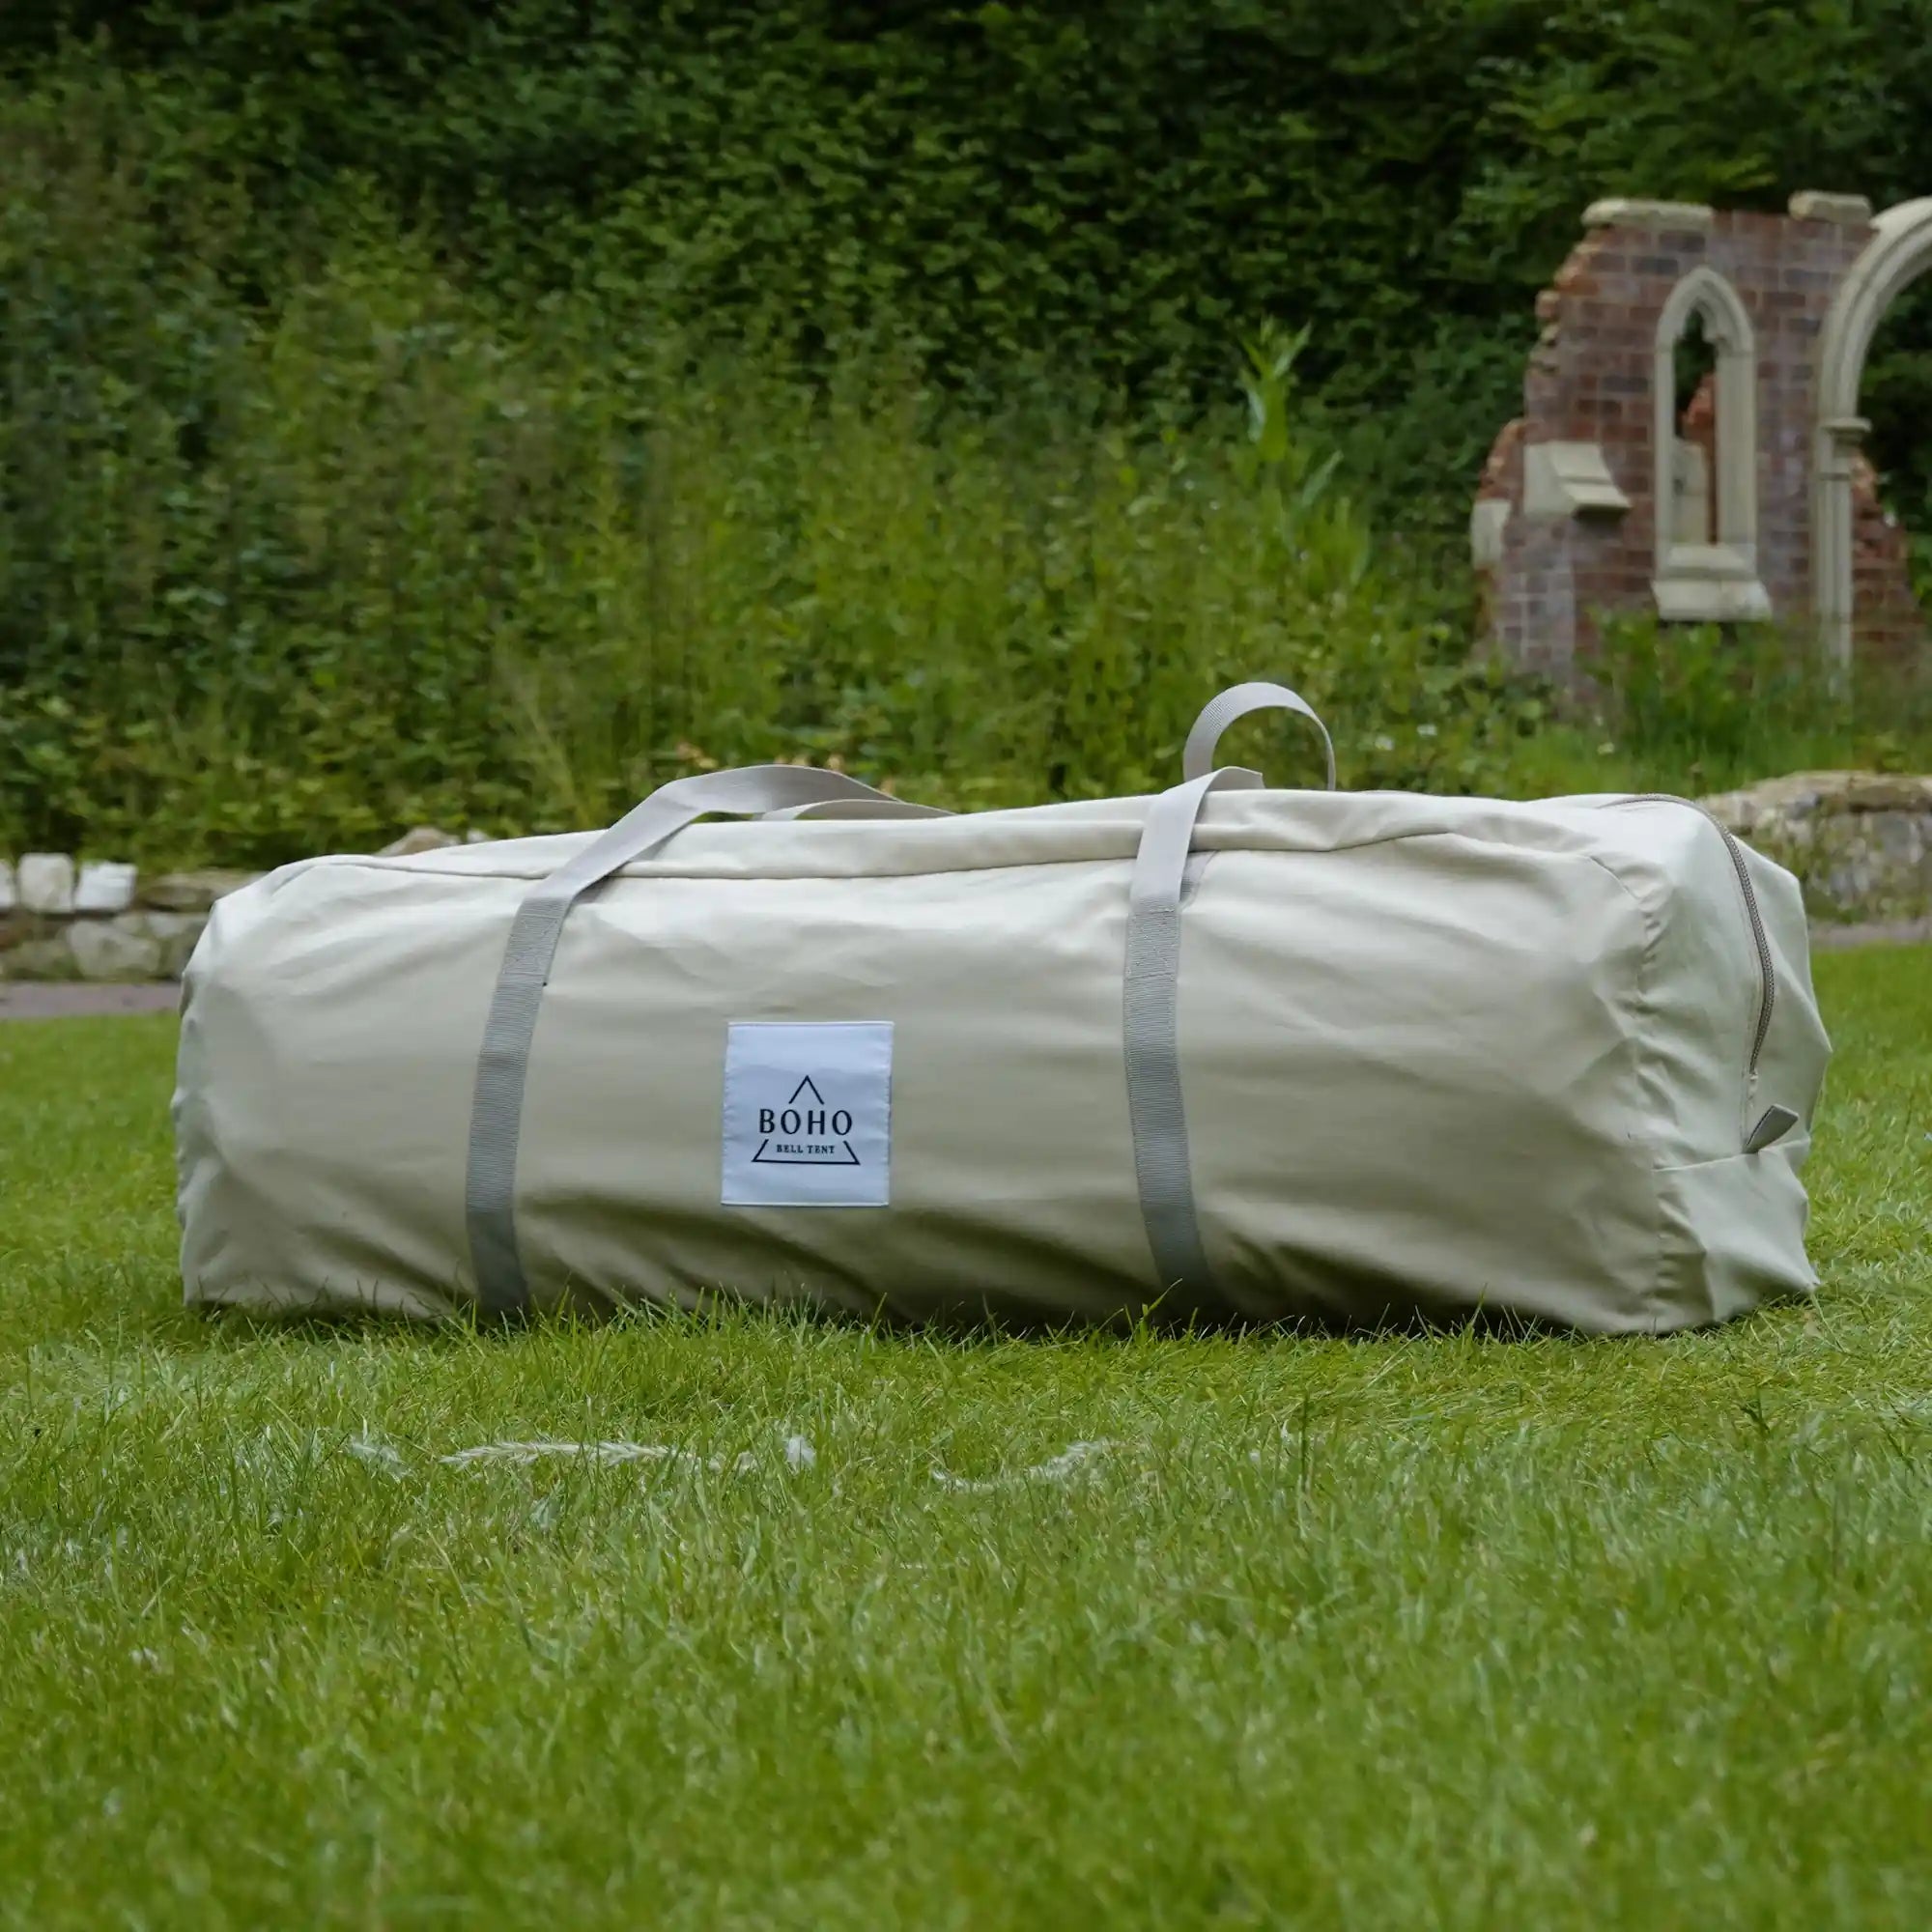
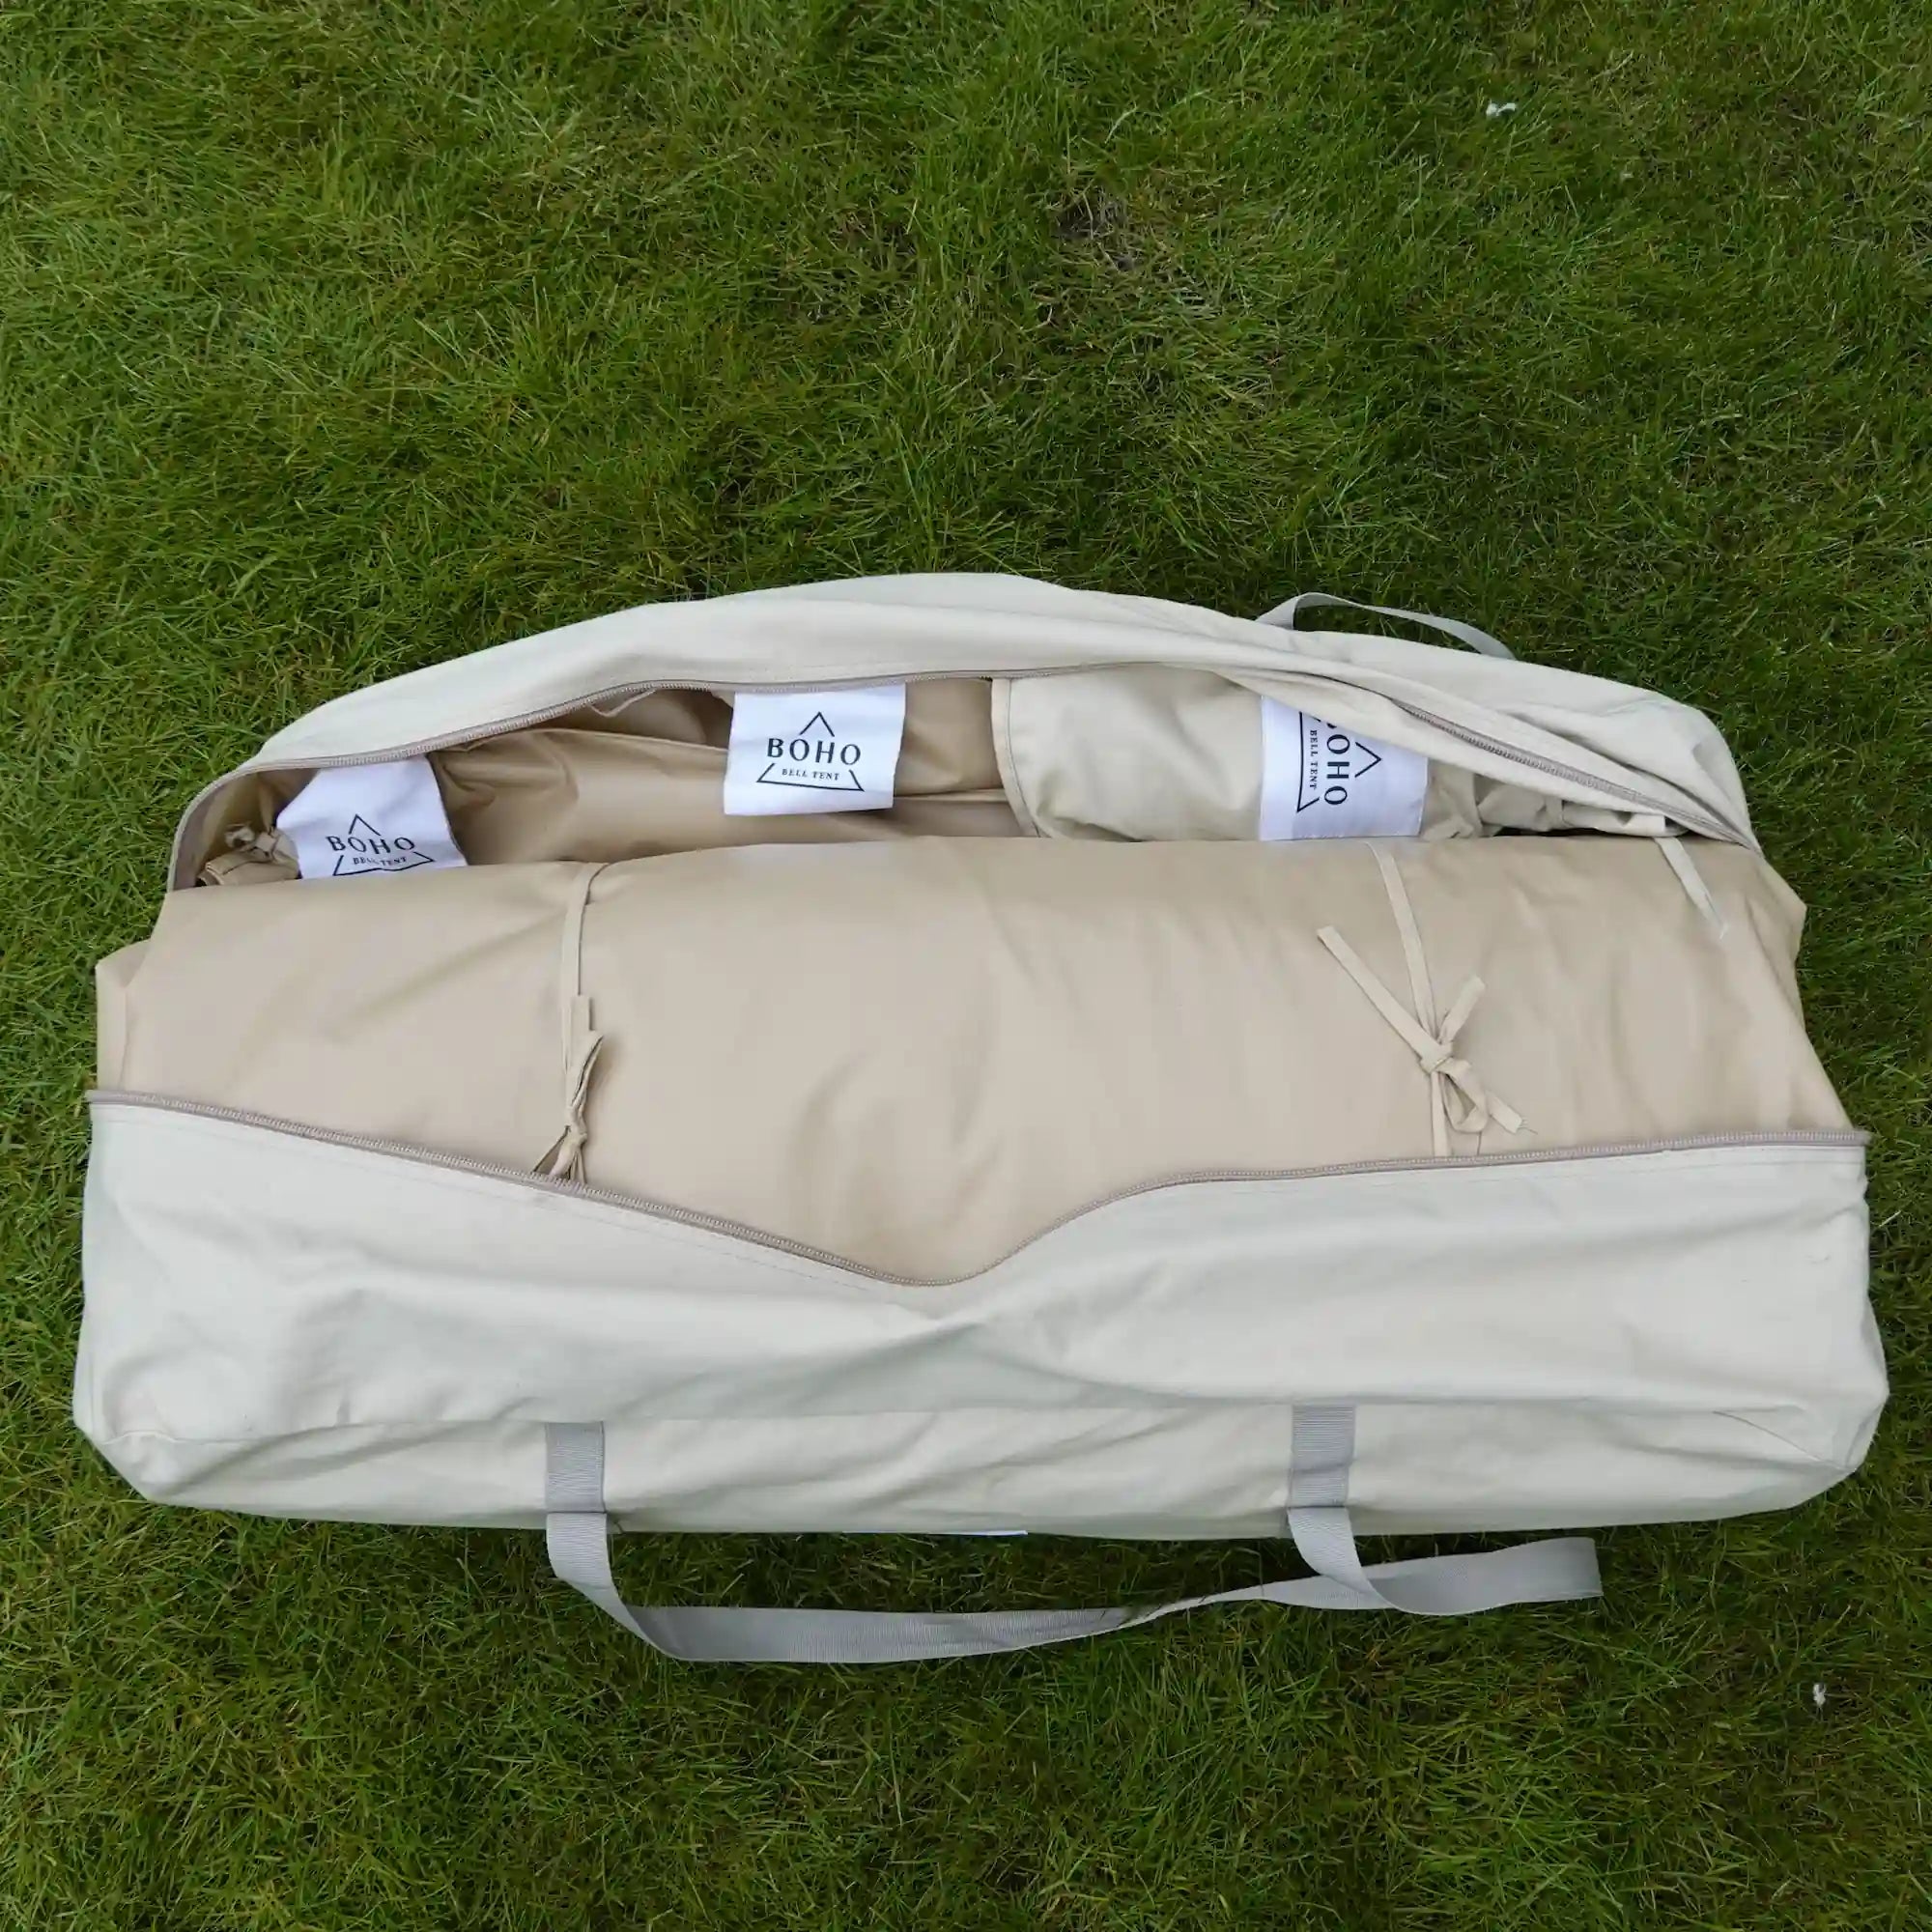
Purchase One of Our Black Out Tent Covers
This is the easiest step you can take - we offer a Silver/Black Bell Tent cover that will drastically cut down on the amount of light that goes through your tent. Not only helping to keep your tent darker but regulate the temperature better inside the bell tent.

This fits our 4m and 5m bell tents perfectly! Due to its size it will also go over a wide range of competitor bell tents if you don't own one of ours. If in doubt please reach out to our support team who would be glad to help!
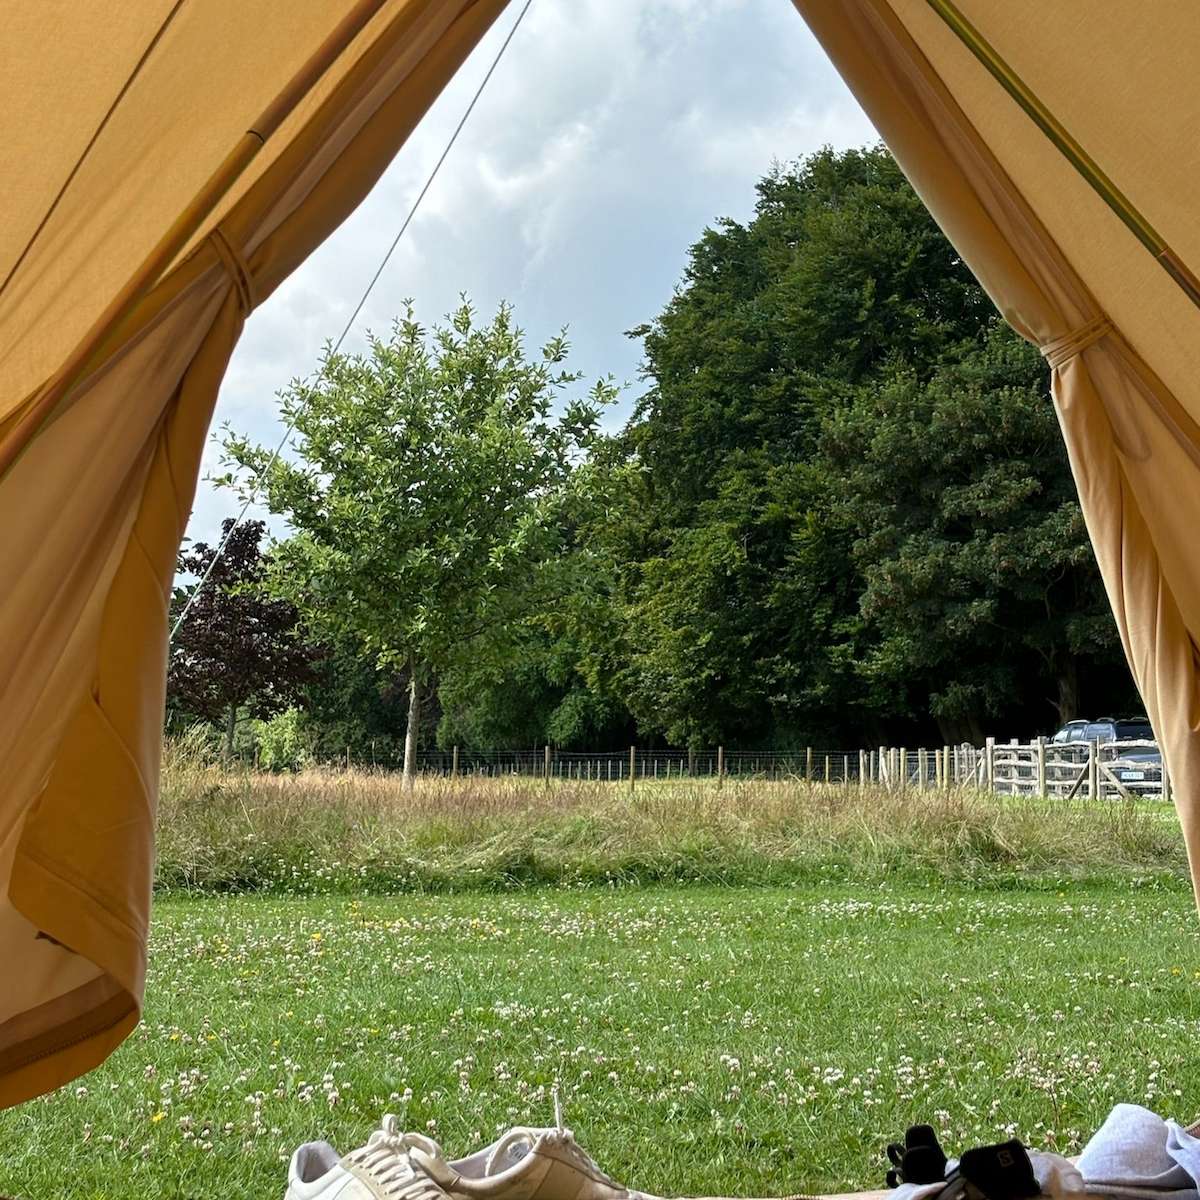
💬 “Bought this to use as a tarped shelter UV protection with the free flowing air, put a couple bean bags down and it's really great. Would buy again.” – Lee, Boho customer
But let's say you don't have one of our tents and it doesn't fit the one you have...
Well - lets breakdown how you can make your own at home!
Make it Yourself.
With your materials at the ready, it’s time to get down to business. Here’s a step-by-step guide to blacking out your bell tent.
Step 1: Measure Your Tent’s Interior
The first step in any blackout project is to measure the interior of your tent. This ensures that you cut your blackout fabric to the correct size and avoid any unnecessary gaps.
Start by measuring the height and width of each wall, including the doors and windows. Make a note of any ventilation points, as these will need special consideration later on. When measuring, it’s better to overestimate slightly to ensure full coverage.
Step 2: Install Blackout Fabric
Once you’ve measured and cut your fabric, it’s time to install it. Start by attaching the fabric to the highest point of the tent, usually the central pole. Use clips or Velcro strips to secure the fabric in place, working your way down the walls.
When it comes to windows and doors, you’ll need to be a bit more careful. Make sure the fabric covers the entire surface and overlaps slightly to ensure no light gets through. For doors, consider installing a separate piece of fabric that can be easily pulled back when you need to enter or exit the tent.
Step 3: Seal Any Light Gaps
After installing the blackout fabric, it’s time to address any remaining light gaps. Check around the seams, windows, doors, and ventilation points. If you find any gaps, use your adhesive tape or additional Velcro strips to seal them.
For ventilation points, consider using a lighter material like mesh that still allows for airflow while blocking out light. You can attach this to the inside of your blackout fabric using Velcro or clips.
Step 4: Test the Blackout Setup
With everything in place, it’s time to test your setup. Step outside the tent and close it up completely. Then, walk around and inspect the tent from all angles, looking for any light leaks. If you spot any, make adjustments by repositioning the fabric or adding more tape or Velcro.
Inside the tent, you should notice a significant reduction in light, creating a darker, more restful environment. If needed, make final adjustments until you’re satisfied with the level of darkness.
Additional Tips for Enhancing Tent Blackout
While the basic steps outlined above will go a long way in blacking out your bell tent, there are a few additional tips and tricks you can use to enhance the effect.
Use Blackout Liners
If you’re looking for a quick and easy solution, consider purchasing pre-made blackout liners. These liners are designed to fit specific tent models and come with built-in attachment points, making installation a breeze. They’re also reusable and can be easily removed when not needed.
Combine Different Blackout Methods
For maximum effectiveness, consider combining several blackout methods. For example, you could use blackout fabric on the walls and reflective sheets (like our bell tent cover!) on the roof, along with blackout liners for the windows. This multi-layered approach ensures no light gets through and also helps with temperature regulation.
Maintaining Your Blacked-Out Bell Tent
Once you’ve achieved the perfect blackout setup, it’s important to maintain it properly. Here are some tips for keeping your blackout materials in good condition.
|
Task |
What to Do |
|---|---|
|
Cleaning |
Wipe down blackout fabric with a damp cloth or mild soapy water |
|
Storage |
Roll (don’t fold) materials to avoid creasing; store in a dry space |
|
Repairs |
Use outdoor adhesive patches or strong tape to fix rips promptly |
⚠️ Never store blackout fabric damp—this leads to mildew and odours.
If you find that your materials are beyond repair, it might be time to replace them. Fortunately, most blackout fabrics and liners are relatively affordable, so you won’t need to break the bank to maintain your setup.
🛍 Shop Blackout Covers & Accessories
At Boho Bell Tent, we believe in beautiful sleep—whether you’re deep in nature or glamping at a festival.
✔️ Blackout Bell Tent Covers
✔️ Classic Bell Tents
✔️ Inner Tents
✔️ Groundsheet Protectors
📩 Need help choosing the right size? Contact us
At Boho Bell Tent, we’ve helped hundreds of customers find the perfect setup for festivals, weddings, and off-grid escapes. So if you need any help at all, be sure to reach out!
Share:
How to Keep Bugs out of a Bell Tent
Essential Gear for a Boho Campsite