


 Canvas Bell Tents
 Bell Tent Accessories

It's a Sunday in late October. The tent is in the garden, the kettle's on, and there's drizzle blowing in off the channel. From here, two things can happen. You pack it away properly today and pull a fresh-smelling canvas out of the shed in May. Or you rush it, cram a damp tent into a sealed bag, and find a black mottle of mould in spring that's already eaten the waterproofing.
This is the actual checklist I run on my own tent each October. The kit list, the storage decisions specific to British sheds and lofts, and the honest answer on when a tent is past saving. No fluff, no horror stories, just what works.
Step 1: Dry the tent properly (this is the whole game)
If you only do one thing right, do this. Every storage failure I've seen starts with a tent that was packed when it "felt dry" but wasn't. We have a longer piece on why bell tents go mouldy if you want the science, but the prevention is simpler than the cure.
Why "feels dry" isn't dry enough
Cotton canvas holds moisture in places your hand will never touch. The seams. Around the door zips. In the rope channels. At the peg loop reinforcements. When you pack a tent that feels dry but isn't, the water doesn't disappear. It redistributes through the rolled canvas overnight, and mould spores germinate in 24 to 48 hours. The damp patch you couldn't feel becomes the mould patch you can.
How to dry a bell tent at home (UK reality)
The fastest way to dry a bell tent at home is to re-pitch it in the garden for 24 hours on the next dry day. If the weather won't play ball, hang it over a washing line, fence, or stairwell rail indoors with a dehumidifier nearby. Avoid radiators, tumble dryers, and hair dryers, because heat strips the waterproofing. Check four trap zones: door zip, peg loops, guy rope channels, and the apex where the centre pole sits.
In real UK terms, that's the order of preference. Best is a dry day and the garden. Second best is hanging the tent over something tall indoors with a dehumidifier running underneath. A stairwell works. A banister works. A clothes airer works if you rotate the canvas every four hours so no fold sits damp for too long.
The 24-hour rule
If you packed the tent damp at the campsite to beat the rain, you have 24 hours to get it home, get it back out, and get it drying. Beyond that, expect mould. If you spot mould already, the vinegar method for cleaning mould off canvas is the recovery path before you store it.
Step 2: Inspect before you pack
The pre-storage MOT. Five minutes now saves a season later. Customers who skip this step discover the rip in May, with a trip booked for the following weekend.
Walk the canvas slowly and look for pinhole holes, abrasion at the peg loops, fraying guy ropes, and any mould spots from the last trip you missed at the time. Run each door zip open and closed five times. A zip that's catching now will be a zip that's failed by spring.
Check the centre pole for splits along the wood grain and the A-frame poles for any bend. Test the bag zip too, because a split bag zip in October becomes "the tent's been on the shed floor all winter" by January.
Whatever you find, write it on a luggage tag and tape it to the bag. Don't try to remember it. You won't.
Step 3: Pack it the way you'll want to find it
Folding is well-covered elsewhere on the internet, so I'll keep this tight. The principles that actually matter:
- Lay the canvas flat and fold the doors inwards to protect the zips
- Fold lengthways to roughly the width of the carry bag
- Roll forwards from the apex, knee on the canvas to push air out as you go
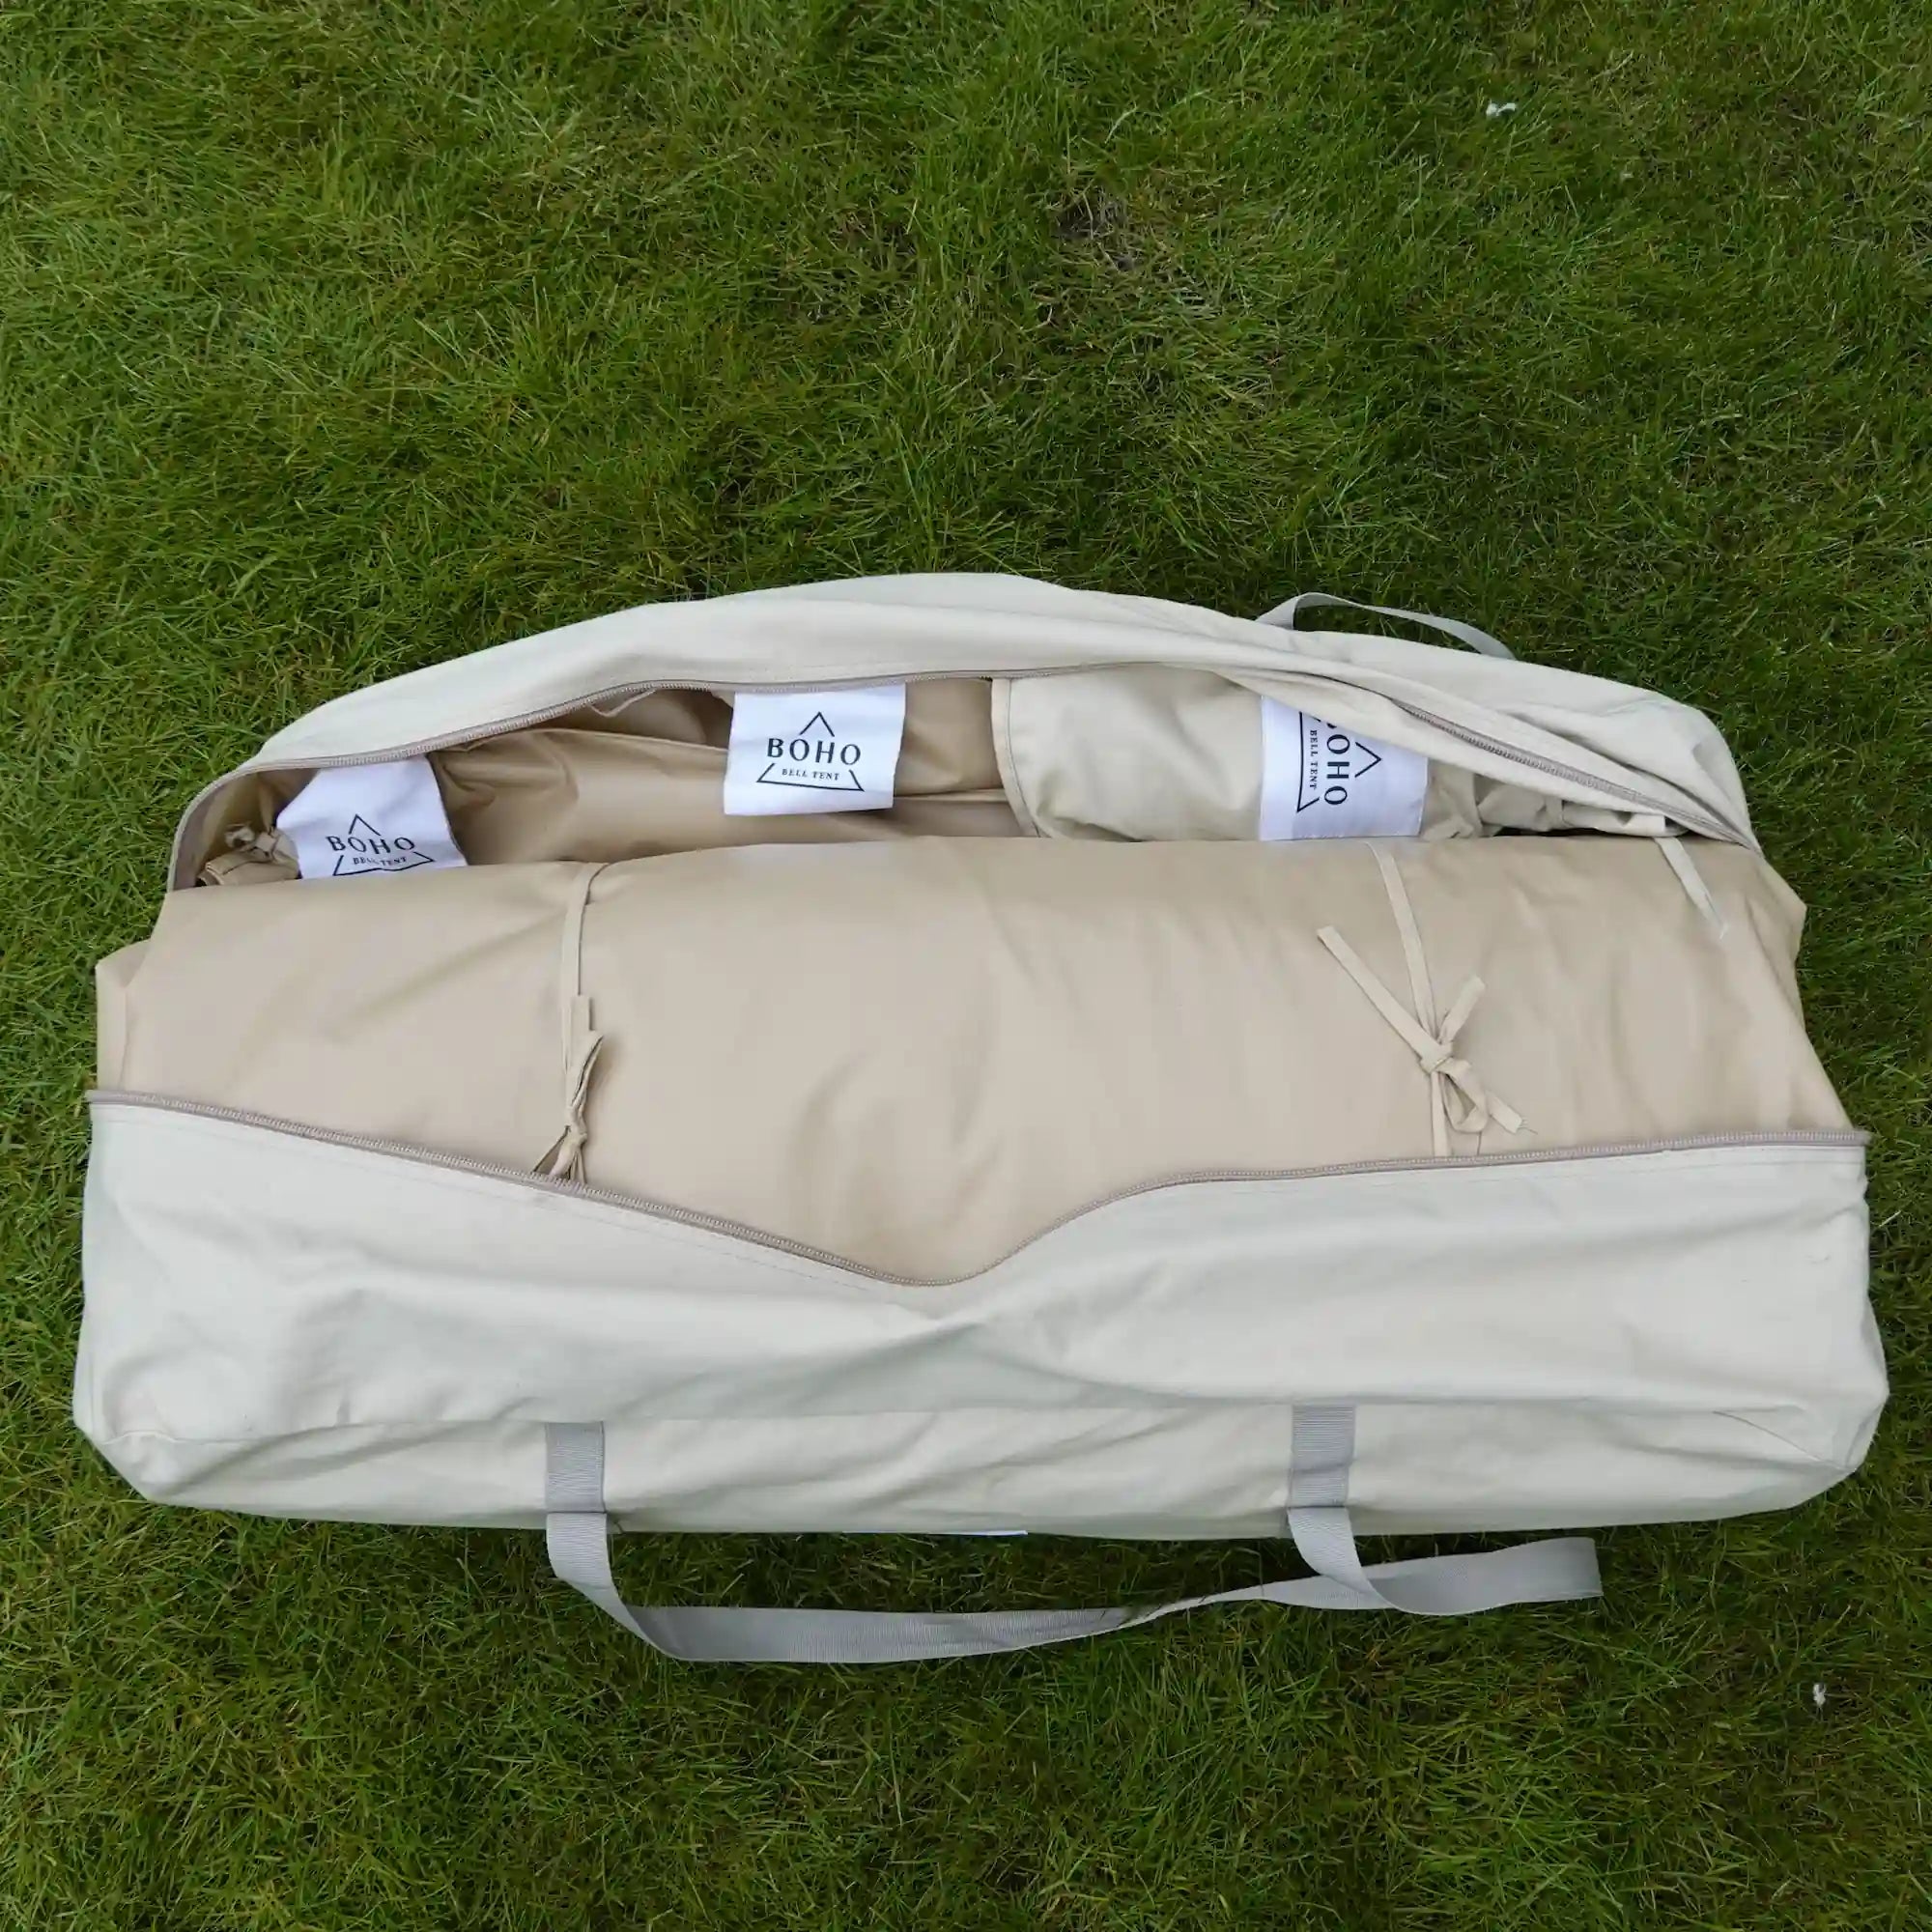
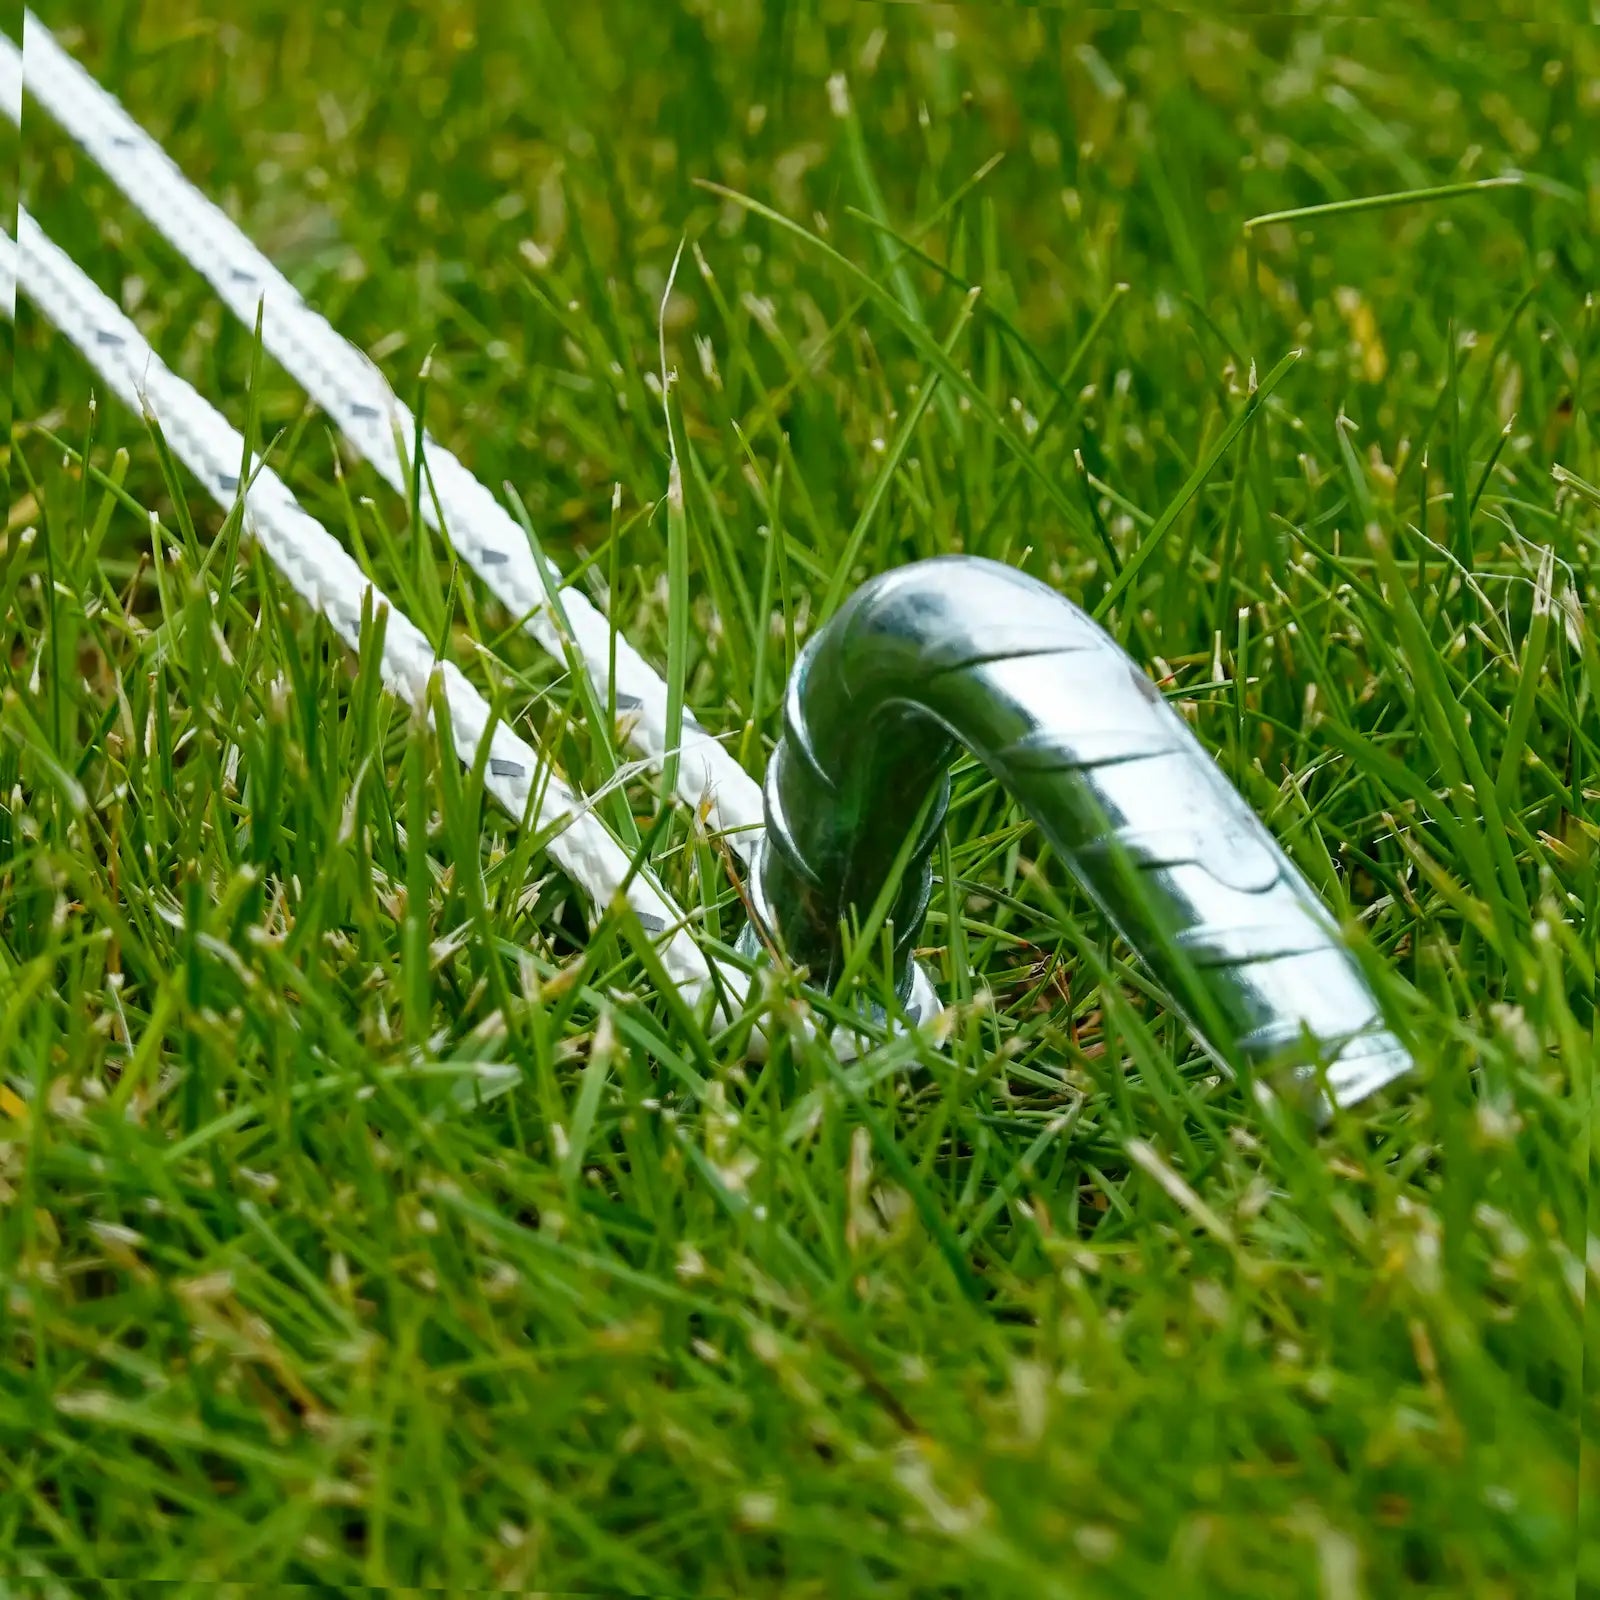
- Poles in their own bag, pegs separately, because a loose peg in with the canvas can pierce a fold
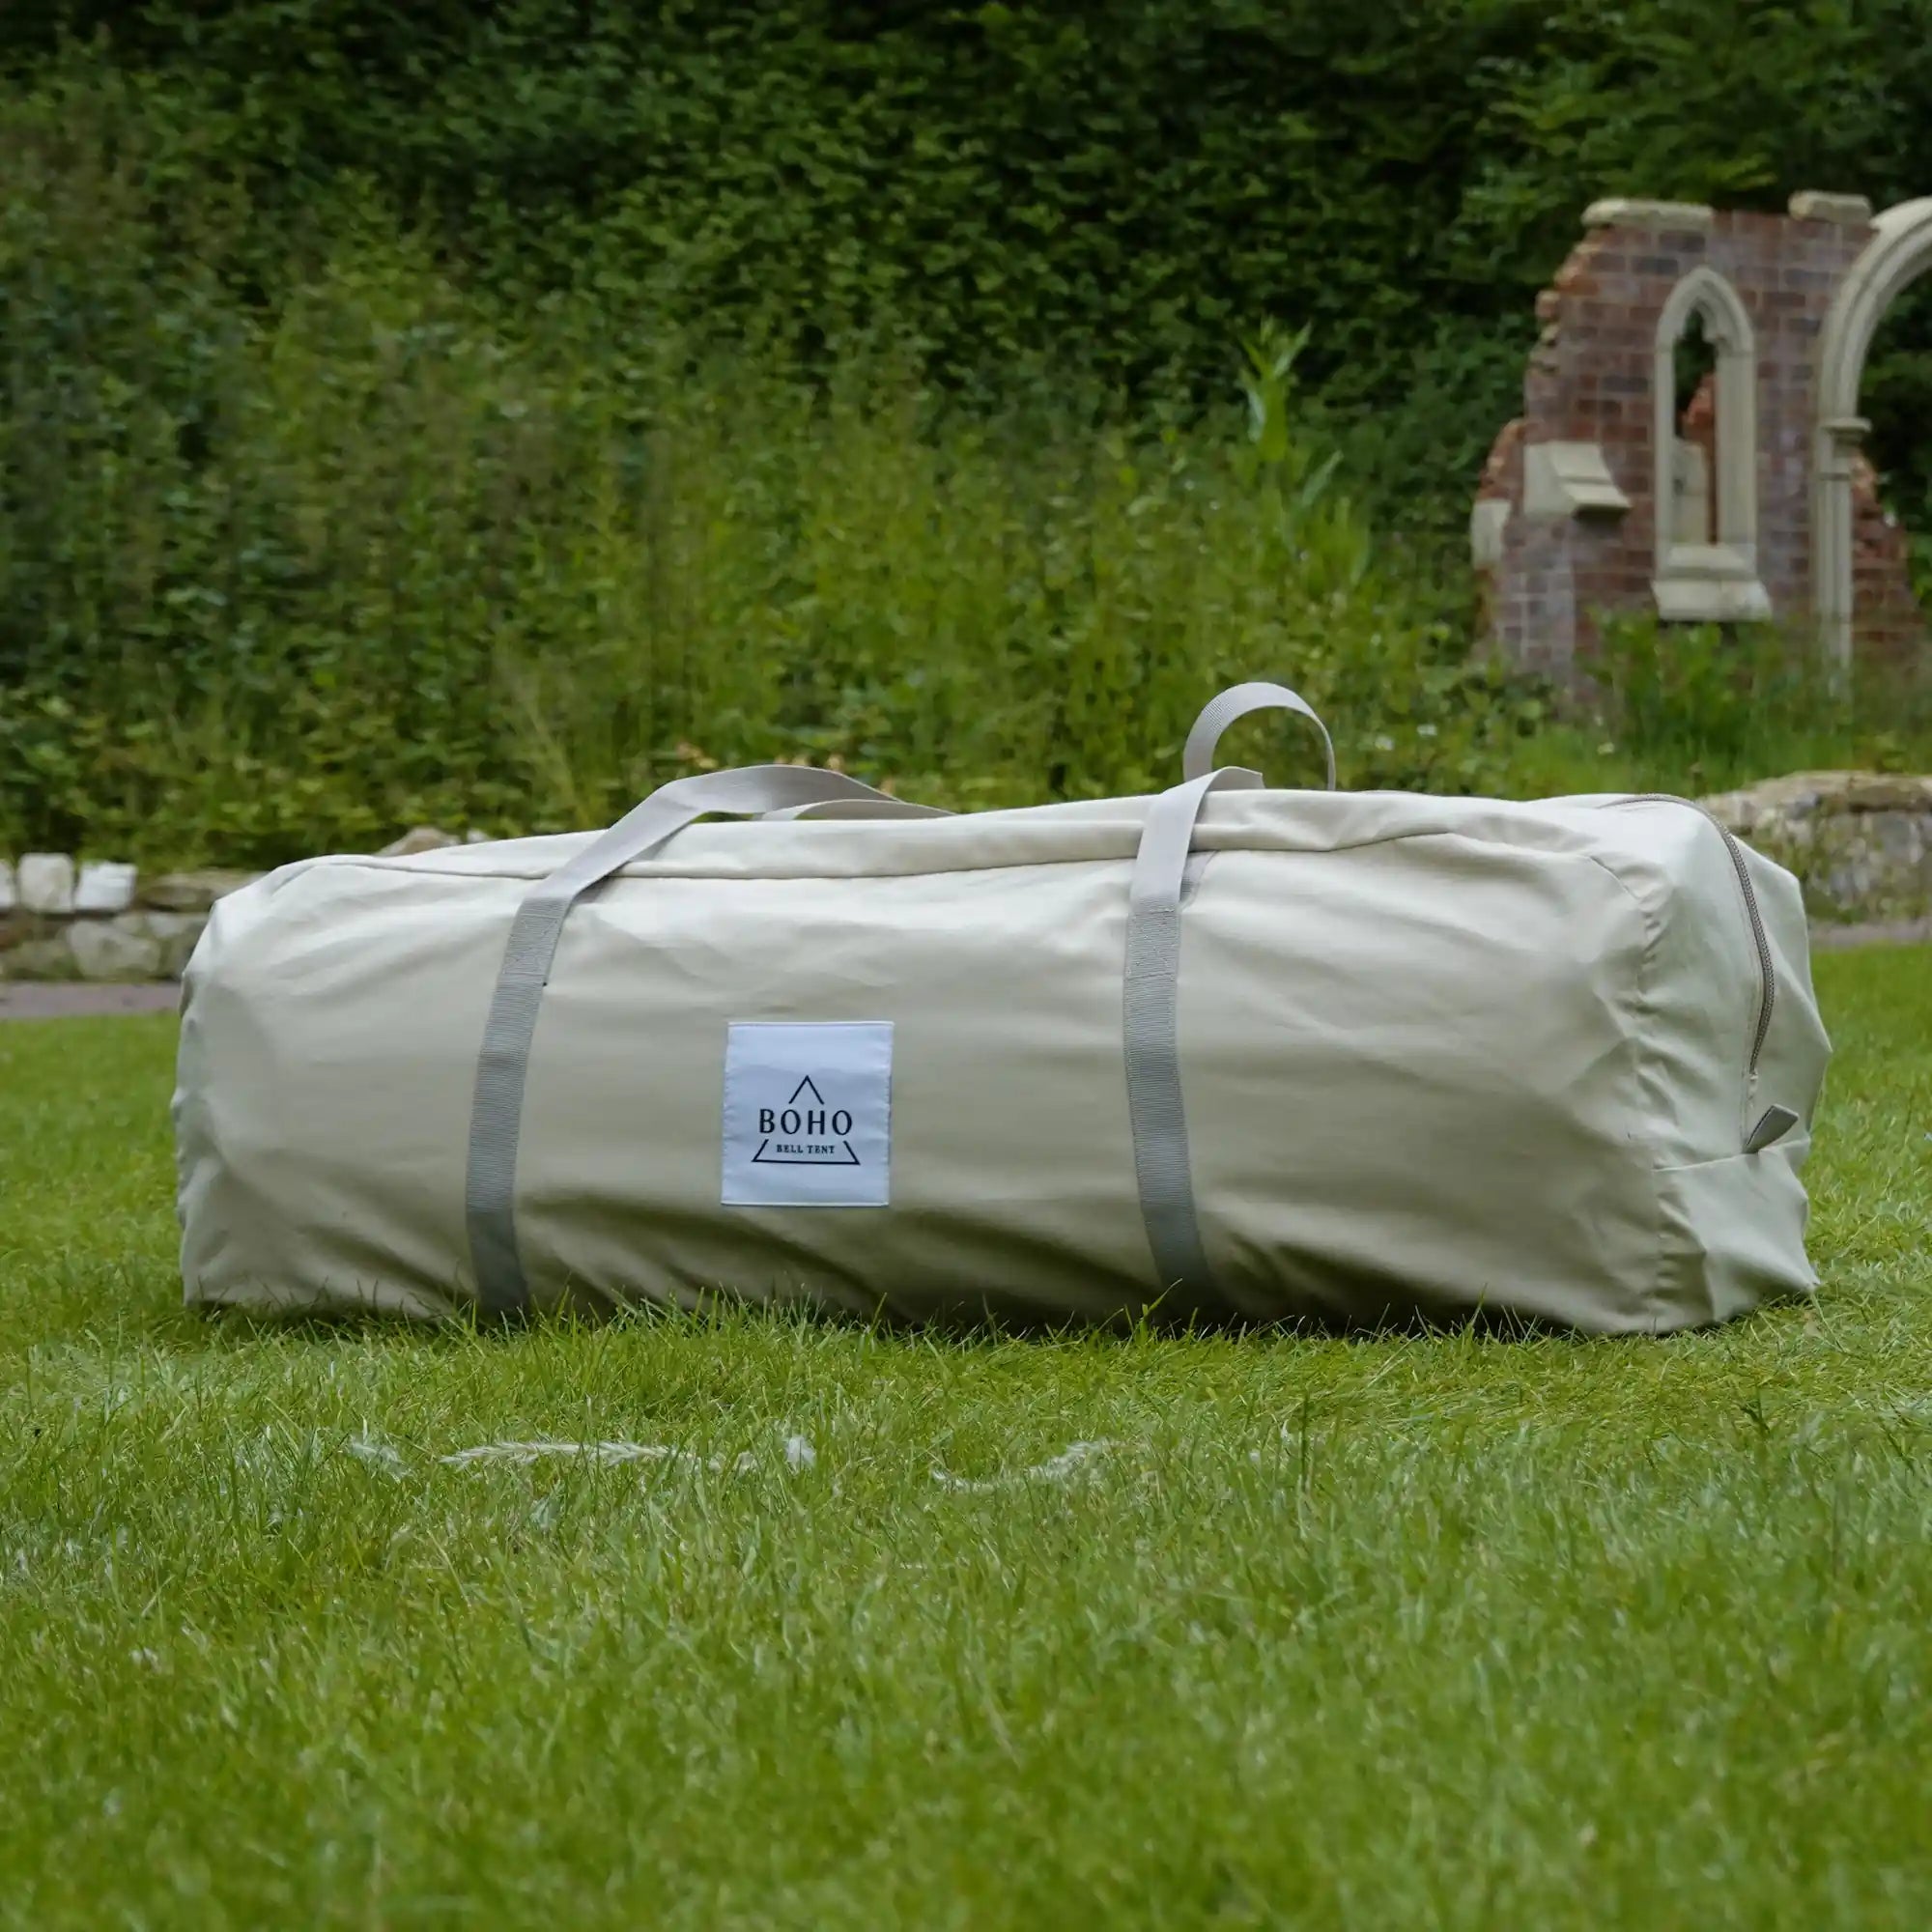
- Don't over-stuff the carry bag. A tight roll holds compression marks. Loose is fine.
Step 4: Where to store it (and where not to)
This is the section that beats every US and Australian article on the subject. UK storage realities are different. We don't have heated attached garages with stable winter temperatures. We have sheds. Lofts. Garages where the car drips wet wheels onto the concrete. And damp swings the rest of the world doesn't deal with.
The four storage locations, ranked
| Location | Verdict | Why |
|---|---|---|
| Heated indoor cupboard or under-stairs | Best | Stable temperature, no damp swing, no rodents |
| Loft | Good with caveats | Dry but heat extremes; raise off the insulation |
| Garage (attached, dry) | OK | Risk of damp from car wash-in; raise off the concrete |
| Shed | Last resort | Damp, temperature swings, rodent risk. Use a Cover. |
The two non-negotiables wherever you store it
Off the floor. A pallet, a shelf, on top of the freezer in the garage, anything that breaks the contact between the bag and the cold surface underneath. Concrete sweats in winter. Shed floors hold rising damp. Get the tent up.
Breathable, not sealed plastic. A canvas bag inside a vented plastic crate is fine. A black bin bag tied shut is mould in a costume. The tent needs to breathe, even in storage. If you trap any residual moisture against the canvas with a sealed wrapper, you've built yourself a culture jar.
If you're storing in a shed (most readers are)
A garden shed is the most common UK bell tent storage spot, and it's also the dampest. The fix is a three-layer system: bag the tent, slip it inside a Bell Tent Cover, then put both inside a vented plastic crate raised off the floor on a pallet. Add silica gel sachets, replace them in February, and check the tent once mid-winter.
The Cover is the bit most people miss. It's the same product I'd put on a pitched tent in a Cornish winter to stop UV and rain damage. In storage, it does exactly the same job. Two uses out of one £109 buy on a 4m, or £125 on a 5m. It's worth it before you factor in what a ruined canvas costs to replace.
Step 5: Reproof before storage, not after
Most guides will tell you to reproof in spring, just before camping season. I disagree, and here's why.
Reproof your bell tent in autumn before storage, not in spring before camping. The waterproofing needs 48 hours to cure properly, and curing slowly over winter gives you a tent that's ready to pitch on the first warm March weekend. Reproofing in March means you're racing the first festival in cure time you don't have.
The full step-by-step lives in our reproofing your bell tent guide, so I won't repeat it here. The frequency: once every 12 to 18 months for normal use, once a season if you camp ten or more trips a year. If water has stopped beading on the canvas and started soaking in, it's time.
Step 6: The February check-in
Nobody else writes this section, and it's where mould gets caught early.
Set a calendar reminder for the first weekend in February. Open the storage container, pull the tent out, and look for four things: a damp smell when you open the bag, fresh mould spots on the canvas, signs of rodent damage at the bag corners, and silica gel sachets that have gone soft and saturated.
Fifteen minutes of work. If anything is off, you've got time to re-dry the tent before March, treat any mould now, and replace the silica before the long damp tail of late winter. If everything looks fine, repack it and put it back. You'll be glad you checked.
Step 7: When to reproof, when to repair, when to replace
Founder honesty section. Most retailers tell you to keep the tent forever because it sells the next bottle of sealant. Sometimes a tent is past saving, and pretending otherwise wastes your time and money.
A well-stored bell tent lasts 8 to 12 years; a badly stored one can die in three. Reproof when water stops beading on the canvas (12 to 18 months is normal). Repair pinhole holes with an £8 Tear Aid patch and small mould with the vinegar method. Replace when mould has eaten the weave, the cotton splits along old fold lines, or repair patches overlap. Replacing isn't failure, it's the cost of a decade outdoors.
Of the three failure modes, mould penetration is the one storage prevents. Splitting along fold lines is age. Overlapping patches is mileage. The first one is the only one that's down to how you packed the tent the previous October. Get that right and you've effectively bought yourself another five years on a Classic Bell Tent without spending a penny.
The Toby storage box (my actual kit list)
This is what's on the shelf above the tent in my own shed, in a single plastic crate. Total cost is under £180 including the Cover, and it's the cheapest insurance you can buy on a tent that cost between three and seven hundred pounds new.
- A spare set of pegs (three always go missing per season)
- A Tear Aid kit (£8 from any outdoor shop)
- Four silica gel sachets, replaced every February
- A Bell Tent Cover, folded under the bagged tent
- A laminated luggage tag with the inspection notes from October
- A 1-litre Fabsil bottle for the spring touch-up
- A roll of black gaffer tape for the bag, because the bag zip will go before the tent does
That's it. Nothing exotic. Everything earns its place by being needed at least once a winter.
Quick answers
Can I store a bell tent in a damp shed?
Only with a Bell Tent Cover and silica gel sachets, raised off the floor on a pallet inside a vented plastic crate. Better still, bring it indoors. A damp shed is the most common cause of winter mould we hear about.
How long can a bell tent stay packed in storage?
Indefinitely if it's properly dry. Check it every four to six months for damp smells, fresh mould, and rodent damage. A tent stored correctly will outlast a tent that's used hard and stored wet.
Can I store the tent wet for one night?
Yes for one night, no longer. If you packed up wet at the campsite, you have 24 hours from when you got home to get the tent back out and drying. Beyond that, expect mould.
Do I need a Cover if my tent lives in the shed?
Yes. A Bell Tent Cover doubles as a storage layer and a pitching protection layer. The same £99 to £135 spend (depending on size) does two jobs across the year.
What's the worst storage mistake people make?
Rolling a tent that "feels dry" but isn't. Always over-dry, never under-dry. The canvas can be on the line an extra day; it can't recover from a wet roll.
Or, don't store it at all
For Fire Cotton owners and year-round campers, winter is the best season. Quieter sites, cleaner air, the canvas glow of a stove evening with frost on the guy ropes. If you've got a stove-ready tent, storing it in October feels like wasting six good months of the calendar.
If you want the long version on cold-weather use, our bell tents in winter guide covers what works and what doesn't between October and March. For the broader seasonal context, our year-round bell tent care piece takes you through the four-season cycle.
Final thoughts from the founder
This is what we do at home each October. The kit costs less than dinner out. The mistake costs the tent. We'd rather you got 12 good summers out of a Boho than three.
Drop us a line on info@bohobelltent.co.uk if you've got a tent storage question we haven't answered. I read every email myself.
Toby



At Boho Bell Tent, we’ve helped hundreds of customers find the perfect setup for festivals, weddings, and off-grid escapes. So if you need any help at all, be sure to reach out!
Share:
Do I Need a Bell Tent Groundsheet Protector? Honest Answer